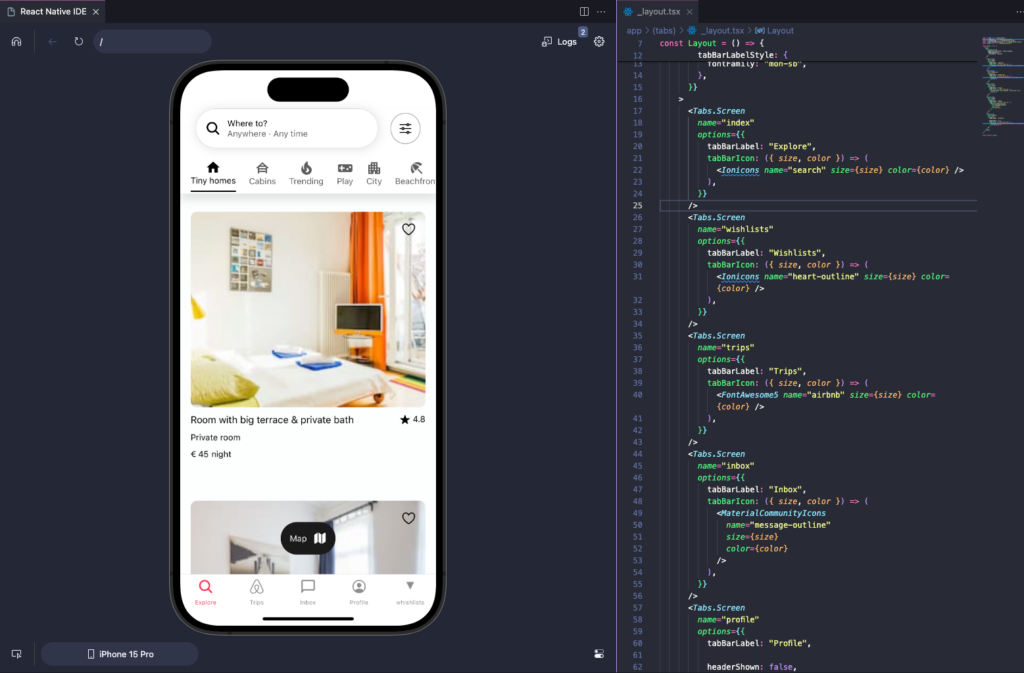
React Native has become a popular framework for developing cross-platform mobile applications. Powered by Facebook, it allows developers to use a single codebase to create apps that run on both iOS and Android. In this article, we’ll explore the benefits of React Native, how it works, and how you can get started with this powerful mobile development framework.
What is React Native?
React Native is an open-source mobile development framework that allows developers to build mobile apps using JavaScript and React. Unlike traditional mobile app development, which requires separate codebases for iOS and Android, React Native lets you write a single set of code that works across both platforms. This reduces development time and costs while ensuring a consistent user experience.
Why Choose React Native for Mobile Development?
There are several reasons why React Native is an attractive option for mobile developers, especially those looking to build cross-platform applications. Here are some key advantages of using React Native:
Cross-Platform Development with a Single Codebase
One of the most significant advantages of React Native is its ability to create apps for both iOS and Android using a single codebase. This means that instead of maintaining two separate codebases, developers can write their code once and deploy it across both platforms. This reduces the effort required to develop and maintain apps, leading to faster development cycles and cost savings.
Fast Development with Hot Reload
React Native’s hot reload feature allows developers to see the effects of code changes in real-time without restarting the entire app. This speeds up development by allowing for quick iteration, testing, and bug fixes, making the process of building apps more efficient and enjoyable.
Native Performance and User Experience
While React Native uses JavaScript for most of the development, it also allows developers to write native modules in Java or Swift for specific functionalities that require better performance. This flexibility enables React Native apps to achieve near-native performance, providing a smooth user experience that feels like a fully native app.
Setting Up Your React Native Development Environment

Getting started with React Native is straightforward, but you’ll need to set up your development environment first. Follow these steps to get started:
1. Install Node.js and npm
React Native relies on Node.js and npm (Node Package Manager) for managing dependencies. Download and install Node.js from the official Node.js website. This will also install npm, which you’ll use to install React Native and other required packages.
2. Install React Native CLI
React Native provides its own command-line interface (CLI) for creating and managing projects. Once you have Node.js installed, open a terminal and run the following command to install the React Native CLI:
npm install -g react-native-cli3. Set Up Xcode and Android Studio
If you plan to develop for both iOS and Android, you’ll need to install both Xcode (for iOS development) and Android Studio (for Android development). These tools provide emulators and development kits for testing your app on each platform.
Building Your First React Native App
Now that your development environment is set up, it’s time to create your first React Native app. Follow these steps to get started:
1. Create a New React Native Project
Run the following command to create a new React Native project:
npx react-native init MyFirstAppThis will generate a basic project structure, including the necessary files and directories for your React Native app.
2. Run Your App on an Emulator or Device
To run your app on an Android or iOS emulator, use the following commands based on your platform:
npx react-native run-android  # For Android
npx react-native run-ios      # For iOS
React Native will build and launch the app on your chosen platform, allowing you to see your app in action.
3. Build the User Interface with React Components
In React Native, everything is built using components. You’ll use JSX, a syntax extension for JavaScript, to define the UI and behavior of your app. React Native provides built-in components like View, Text, and Button to help you create layouts and user interfaces.
Best Practices for React Native Development
As you begin building more complex React Native apps, following best practices is essential to ensure your code is maintainable, scalable, and efficient. Here are some best practices to consider:
Use State Management Libraries
Managing the state of your app is crucial, especially as your app grows. State management libraries like Redux and Recoil help manage the flow of data in your app, ensuring that changes to the UI are properly reflected when the state changes.
Optimize for Performance
While React Native apps generally perform well, optimizing performance is essential, especially for larger apps. Techniques like avoiding unnecessary re-renders, optimizing images, and using native code for performance-critical features can help keep your app fast and responsive.
Conclusion
React Native is a powerful framework for building cross-platform mobile apps that deliver a native-like experience. By using JavaScript and React, developers can build apps for both iOS and Android with a single codebase, speeding up development and reducing costs. Whether you’re a beginner or an experienced developer looking to expand into mobile development, React Native offers a versatile and efficient solution for creating high-quality apps.


