Android development has become one of the most sought-after skills in the software development world. With billions of devices running on Android, it offers developers an expansive market and endless opportunities to build innovative applications. Whether you’re just starting your career in mobile development or looking to expand your skill set, Android development is an exciting and rewarding field. In this article, we’ll explore the basics of Android development, the tools you’ll need, and some best practices for building high-quality apps.
What is Android Development?
Android development refers to the process of creating applications for devices that run on the Android operating system. Android apps are primarily built using Java or Kotlin programming languages, and they rely on the Android SDK (Software Development Kit) for development. Android offers a versatile platform with access to a wide range of device features, including cameras, sensors, GPS, and more, making it ideal for creating diverse and powerful mobile apps.
Essential Tools for Android Development
To get started with Android development, you’ll need a few key tools that form the foundation of the development process. Here are the main tools you should be familiar with:
Android Studio
Android Studio is the official Integrated Development Environment (IDE) for Android development. It comes with built-in support for both Java and Kotlin, and it offers a range of features like code autocompletion, an Android emulator for testing apps, and debugging tools. Android Studio also supports Gradle, a powerful build system that automates many aspects of app development and deployment.
Android SDK
The Android Software Development Kit (SDK) is a set of tools, libraries, and APIs that developers use to build Android applications. It includes everything you need to create apps that work on different Android versions and device types. When you install Android Studio, the SDK is automatically included, ensuring that you have everything ready to start building your app.
Choosing Between Java and Kotlin
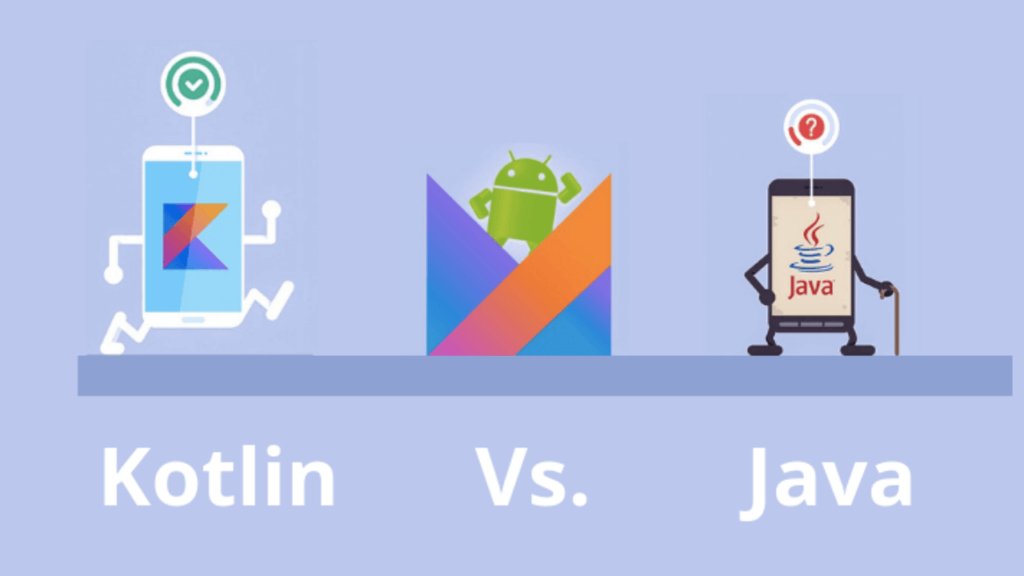
When it comes to Android development, you have two main programming language options: Java and Kotlin. Both are widely supported, but Kotlin has gained immense popularity in recent years, and Google has officially made it the preferred language for Android development.

Java: The Traditional Choice
Java has been the standard language for Android development since the platform’s inception. It’s a powerful, object-oriented language with a large community and extensive libraries. If you have experience in Java or prefer using it, it’s still a great choice for Android development. However, many new projects are now shifting to Kotlin due to its modern features and conciseness.
Kotlin: The Modern Alternative
Kotlin is a modern, concise, and expressive language that interoperates fully with Java. It reduces boilerplate code, makes app development faster, and helps prevent common errors like null pointer exceptions. If you’re starting fresh, Kotlin is an excellent language to learn as it is fully supported by Android Studio and offers many productivity benefits.
Building Your First Android App
Creating your first Android app can be a fun and rewarding experience. Follow these simple steps to get started:
1. Set Up Your Development Environment
First, download and install Android Studio on your machine. Once installed, ensure that the Android SDK is set up correctly. You can verify this by opening a new project in Android Studio and running it on the built-in emulator or a physical device.
2. Create a New Project
Once your environment is set up, start a new project in Android Studio. Choose a project template (such as an empty activity), configure the project settings (app name, package name, and minimum SDK version), and you’re ready to start coding.
3. Build the User Interface
In Android, UIs are typically defined using XML files. You can use Android Studio’s layout editor to design the user interface visually, or you can write the XML code manually. Drag and drop components like buttons, text fields, and images into your layout, and connect them with your code.
4. Write the Code
Once your UI is set, it’s time to add functionality. This is done by writing Java or Kotlin code that handles user interactions and controls the flow of your app. Android Studio offers helpful tools like code suggestions and built-in documentation to assist you while coding.
Best Practices for Android Development
As you start building more advanced Android apps, it’s essential to follow some best practices to ensure your code is maintainable, scalable, and performs well. Here are a few best practices to keep in mind:
Follow the Android Architecture Guidelines
Google has provided a set of architecture guidelines for building robust Android apps. This includes using MVVM (Model-View-ViewModel) or MVP (Model-View-Presenter) architecture patterns to separate the UI logic from business logic. Following these guidelines makes it easier to manage code, implement features, and perform testing.
Optimize for Different Devices and Screen Sizes
One of the challenges of Android development is ensuring that your app works well on various devices, from small smartphones to large tablets. Use responsive layouts, flexible images, and adaptive UI components to provide a consistent user experience across different screen sizes and resolutions.
Conclusion
Android development is a rewarding and versatile field that offers endless possibilities for creativity and innovation. By mastering tools like Android Studio, learning Java or Kotlin, and following best practices, you can build powerful and user-friendly mobile applications. Whether you’re looking to build your first app or improve your skills, the world of Android development is filled with opportunities.


